
Lower encoding quality keeps dimensions but adds artifacts.

Fewer output pixels remove spatial detail.
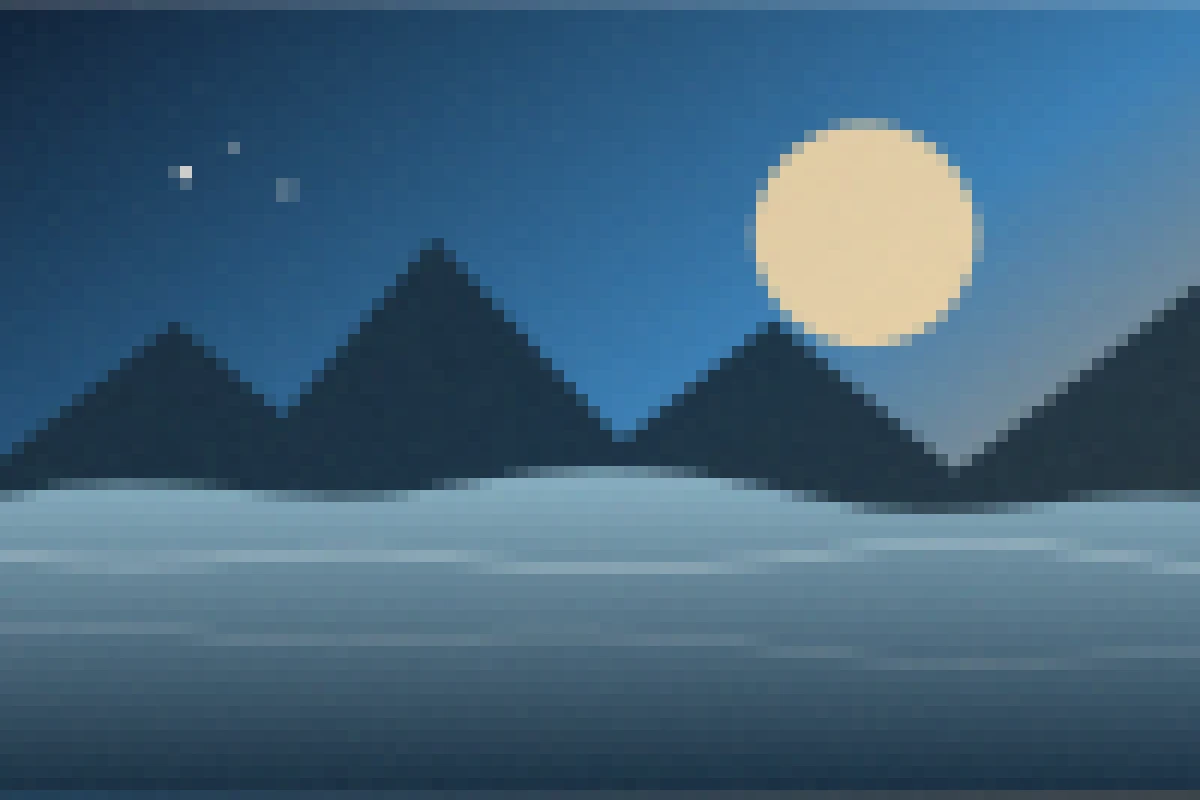
Nearest-neighbor blocks create deliberate square detail.
Method 1: lower the encoding quality
Lowering JPG or WebP quality is the most direct way to create familiar compression artifacts without changing the pixel dimensions.
Start near 50 percent, inspect text and faces, then move lower. Values below 20 percent create a visibly damaged result on most photographs.
Method 2: reduce the resolution
Scaling a 4000-pixel photo down to 800 pixels removes real detail and usually creates a much smaller file. This works well for avatars, email, and forms.
Keep the aspect ratio enabled. Stretching width and height independently creates distortion rather than controlled quality loss.
Method 3: add deliberate pixel blocks
Pixelation downsizes the image to a tiny working surface and scales it back without smoothing. A larger block value hides more detail and creates a stronger graphic effect.
This is suitable for stylistic portraits and rough privacy masking, although solid redaction is safer for sensitive information.
Methods 4 and 5: screenshots and repeated JPG exports
A screenshot passes the image through display scaling and a new encoding step. Repeating that process produces the familiar reposted look, but gives little control over the final size.
Repeated JPG exports are more predictable. Each generation exaggerates ringing and square blocks. For a faster version, use the Deep Fried Meme tool with low quality and high contrast.
Which method should you choose?
Use quality reduction for artifacts, resolution for file limits, pixelation for visible blocks, and repeated encoding for meme damage. Combine them only when the output needs that stronger look.
Five practical starting recipes
To make low quality images for a visible bad-JPEG effect, keep the original dimensions, export as JPG, and test quality between 10 and 25 percent. Text and hard edges reveal ringing quickly, while smooth skies reveal color bands. Stop when the artifacts support the style without hiding the subject.
To make low quality images for avatars or upload limits, resize first. A camera photo rarely needs its full 3000- or 4000-pixel width in a small profile slot. Reduce the longest side, then use moderate JPG or WebP quality and verify the measured bytes rather than guessing from the slider.
To make low quality images for a retro effect, use nearest-neighbor pixel blocks. To imitate repost damage, combine a modest resolution reduction with a low-quality JPG export. For deep fried memes, add saturation and contrast only after the subject and caption remain readable.
- Bad JPEG: full dimensions, JPG quality 10–25%.
- Small upload: required dimensions first, then moderate lossy quality.
- Retro blocks: nearest-neighbor pixelation at a deliberate block size.
- Reposted look: resize, export, and repeat from a preserved source copy.
- Deep fried effect: contrast, saturation, pixels, then lossy quality.
Common mistakes when making low quality images
The biggest mistake is processing the only copy. Methods used to make low quality images remove information, and repeated saves compound that loss. Keep the original, name the processed file clearly, and create later variations from the master rather than from an already damaged download.
Another mistake is treating PNG quality like JPG quality. PNG is lossless in this browser workflow, so moving a quality slider does not create the same artifacts. Choose JPG or WebP for lossy encoding, or reduce resolution when a transparent PNG needs fewer pixels.
Finally, do not make low quality images by stretching a small file with smooth interpolation and assume the result is controlled pixel art. Use explicit pixel blocks for hard squares, and use a solid opaque mask rather than weak pixelation when private information must not be recovered.
Common questions
What is the fastest method?
A browser quality slider is usually fastest because it gives immediate preview and download.
How low should JPG quality go?
For practical use try 40–70 percent. For obvious artifacts try 5–25 percent.
Should I resize before compressing?
Yes when the original dimensions exceed the size needed at the destination.
How do I make low quality images without changing dimensions?
Keep Resolution Scale at 100%, choose JPG or WebP, and lower encoding quality. The width and height stay the same while the encoder removes detail and introduces artifacts.
Can I make low quality images from PNG files?
Yes, but PNG itself is lossless. Reduce the resolution for fewer pixels, or export the processed result as JPG or lossy WebP when visible compression artifacts and a smaller file are required.
Do screenshots make low quality images?
They can. Screenshots capture the displayed scale and pass the image through a new pixel grid and encoding step. Repeating screenshots adds uncontrolled scaling and compression damage.
What method creates the strongest square pixels?
Use the Pixelate Image tool with a larger block size. It downsamples the source and enlarges the grid with nearest-neighbor rendering so adjacent blocks stay crisp instead of blurry.
Can the original quality be restored later?
Not exactly. Upscaling and enhancement can guess new pixels, but they cannot reliably reconstruct detail discarded by resizing, lossy encoding, clipped color, or deliberate pixelation.